Viewing Beneficiaries
- View a Member Record through Member Management – Membership – Search
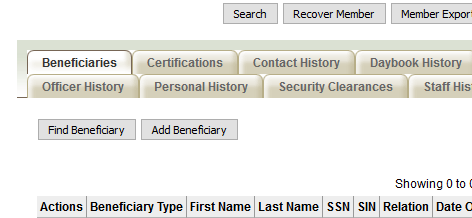
- Click the Beneficiaries tab.
- The default is the Beneficiaries tab. You may not need to Click the tab.
- The default is the Beneficiaries tab. You may not need to Click the tab.
- Below the Find Beneficiary & Add Beneficiary buttons you will find a record of any Beneficiaries on file.
Find Beneficiary
Allows you to search for another member in IMSe to add as a beneficiary for the original member.
- Enter the search criteria in the pop-up window
- A name or list of names will appear in the Search Results box.
- There is a check mark under the Actions column. Click the check mark. A smaller pop-up window will open.
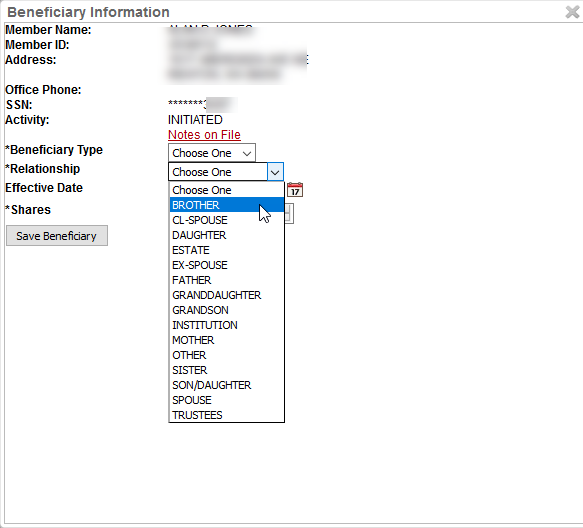
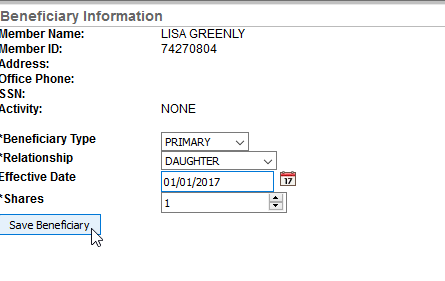
- Enter details or select from the drop-down menu.
- Beneficiary type: Primary or Secondary
- Relationship: Choose how the beneficiary is related to the member
- Enter the Effective date
- Select the number of Shares. It is strongly suggested to enter at least 1 (even if there is only one beneficiary).
- Click Save Beneficiary.
Add Beneficiary
- This button allows you to create a beneficiary (as a NON-MEMBER)
- Enter First and Last names. These are mandatory fields.
- Click Save. IMSe will search do an auto-search for similar names.
- Click Create Non-Member If the beneficiary is not a member.
Complete the Beneficiary Information Form
It is recommended to enter at least 1 in the Shares field (even if there is not a secondary beneficiary). Shares are the amount a Beneficiary Receives of the Total Shares for the Member. One Beneficiary should receive 100 (% of the shares), whereas two Beneficiaries would split the shares 50/50.
After entering the information, Click Save Beneficiary.
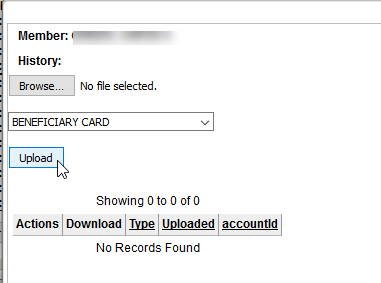
 To Add a Beneficiary Card to the Member’s record
- Click on the Member History tab from the Member summary page.
- Click the Browse button in the pop-up window.
- Select the card from the file location.
- Beneficiary Card is the default from the drop-down menu.
- Click Upload.